Automated Cross-Browser Testing via Sauce Lab
After I create the website, I have to test it with vary browsers and vary platforms it is a real pain in the ass. So now I found the solution to handle this task without install browsers or create new vms.
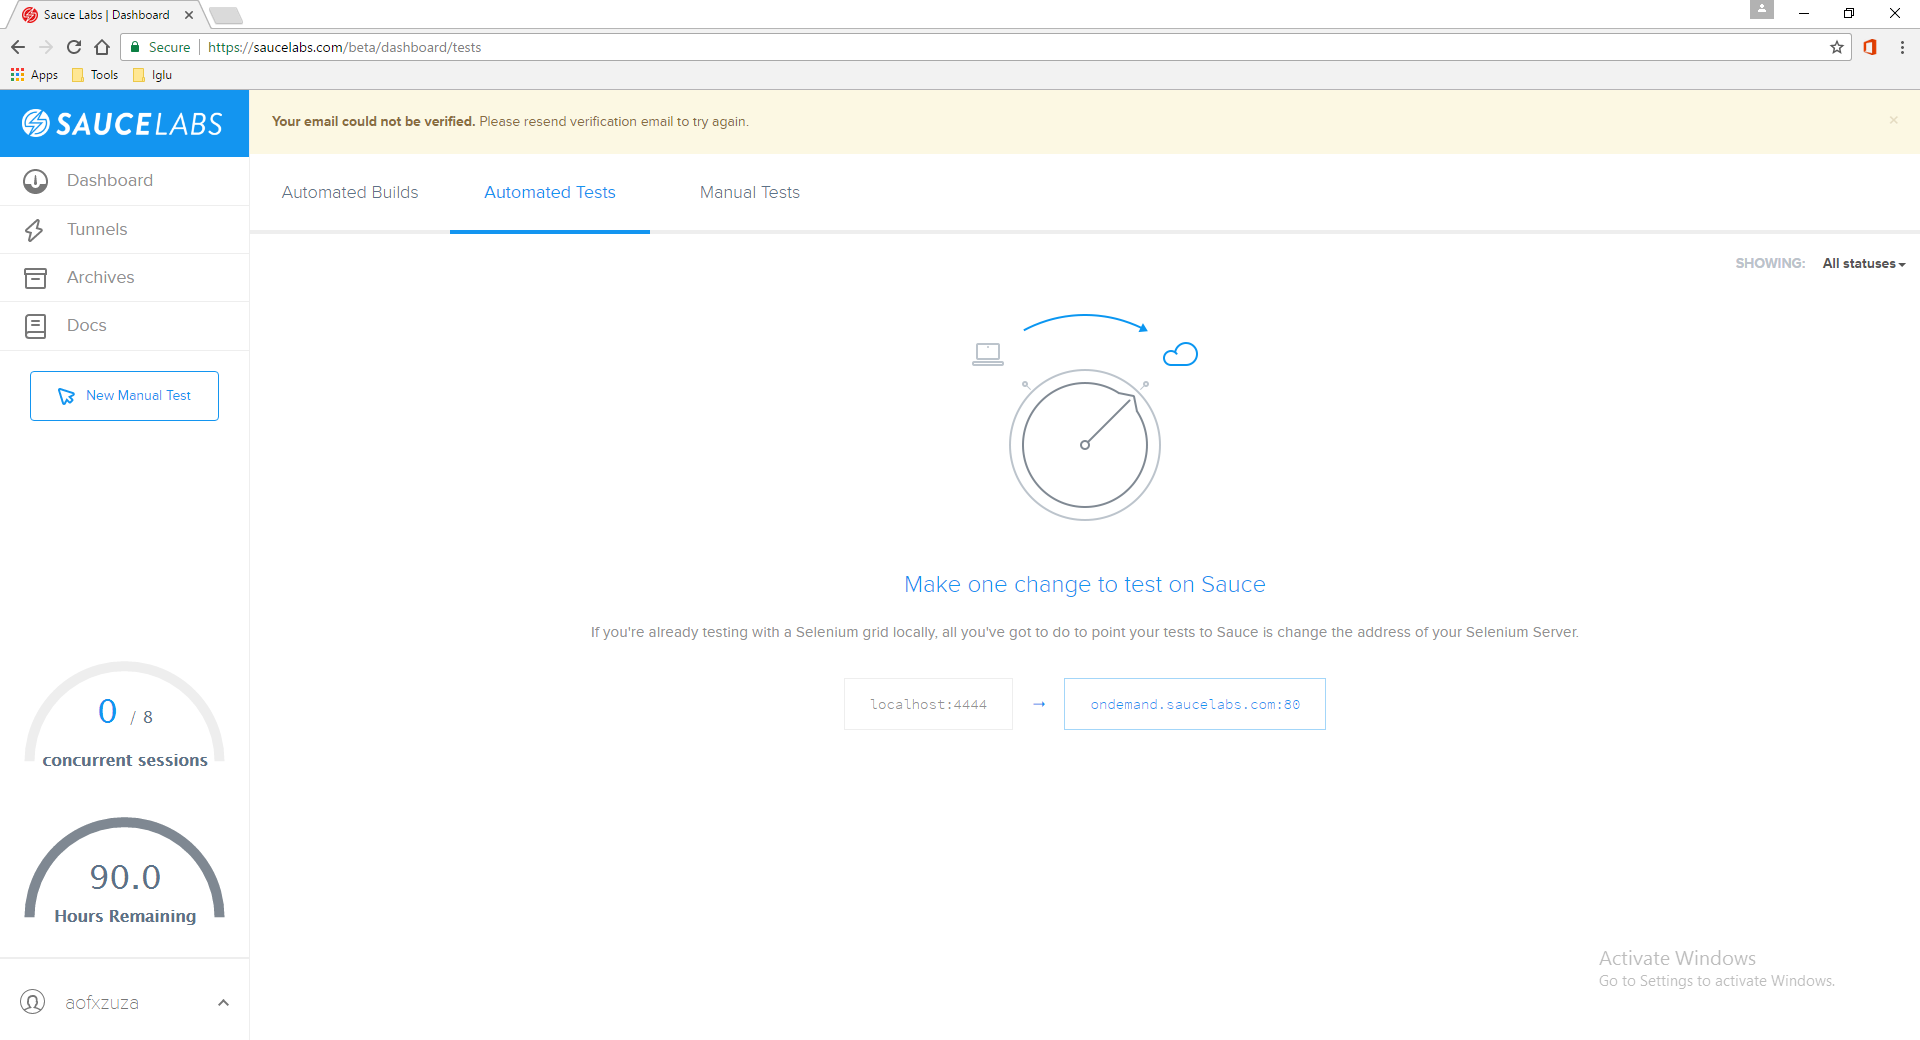
There are many clouds that provide the services for cross-browser testing such as CrossBrowserTesting, SauceLabs and so on. For this tutorial I will use SauceLabs cause it give 90 hours and 8 concurrent sessions for free account.
Topic
- Gethering Access Key on SauceLabs
- Create a test script
- Prepare the test framework
- Watch the test executed on SuaceLabs
Gethering Access Key on SauceLabs
- Create an account or login via GitHub account
- Go to login page and login with your account
- Click on your account at the buttom left -> My Account
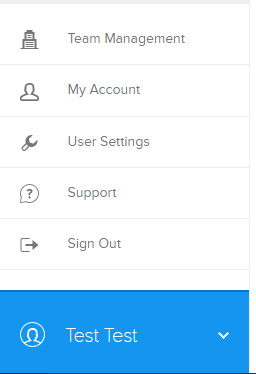
- Scroll down to Access Key Column

- Click show and then fill your password
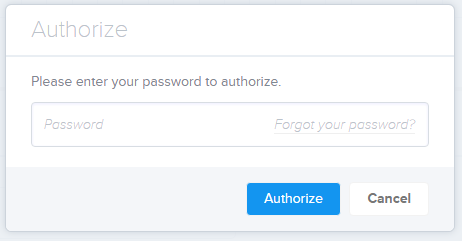
- Now you got the access key for remote testing

Create a test script
This step, I will use selenium builder to create test steps. The selenium builder is a powerful tool to create and export the test script to vary languages including java, javascript, c# etc and it also has plugin for github, CrossBrowserTesting and SauceLabs for remote testing and uploading the codes.
- Open Firefox and install selenium builder (Firefox plugin)
- Restart Firefox
- Go to
Tools -> Web developer -> Launch Selenium Builder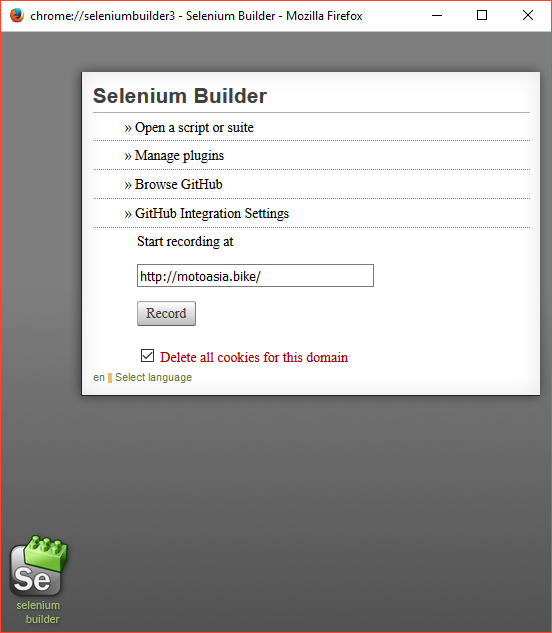
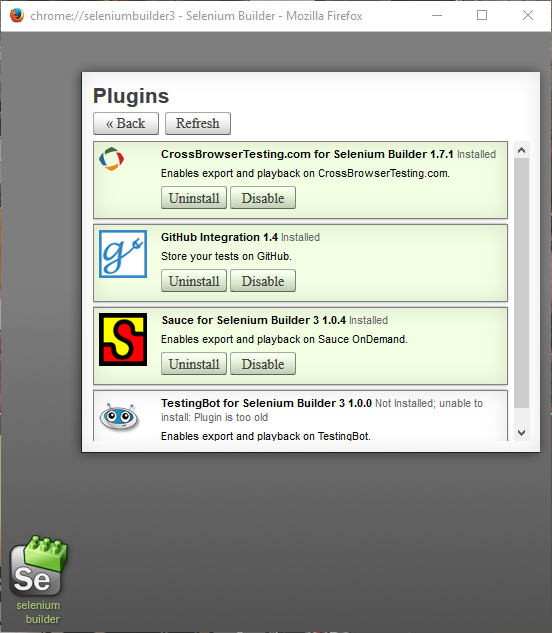
- Install Sauce for Selenium Builder plugin
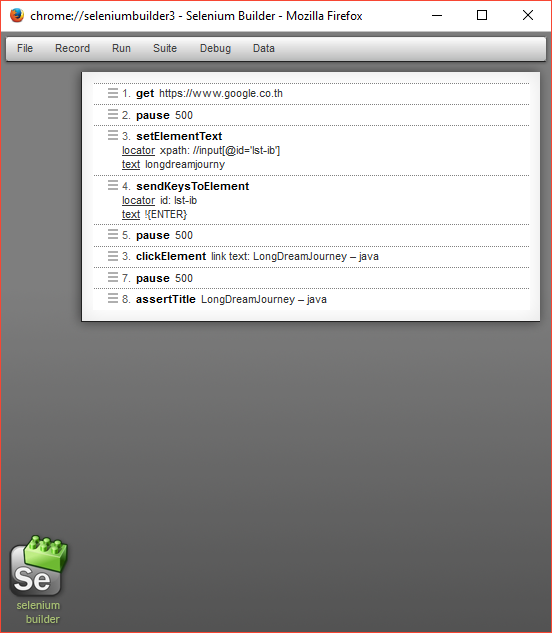
- Click back, then start recording the test step and edit some steps such as pause
- Stop Recording
- Go to menu
Run -> Run on Sauce OnDemand - Fill Username, Access Key and select browsers that you would like to test

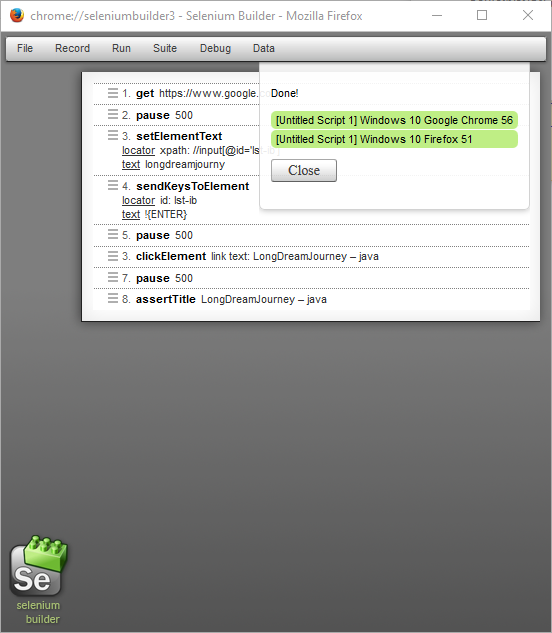
- Click OK to run tests
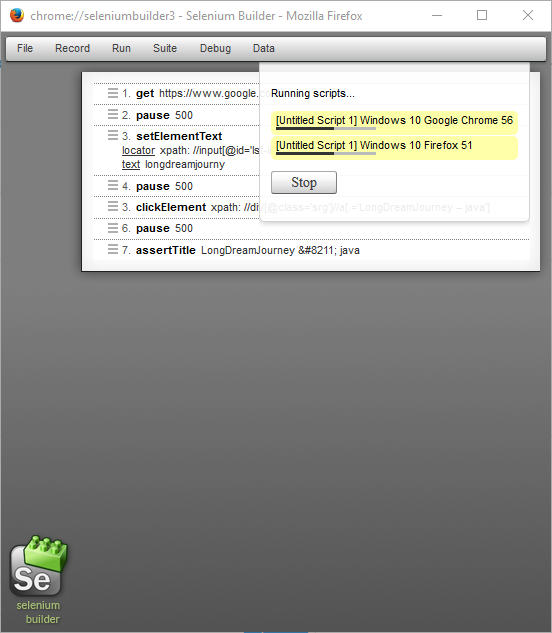
- Meanwhile you can see the testing on SauceLabs
- Wait untill all tests is done
- Now export test to javascript by going to menu
File --> Export...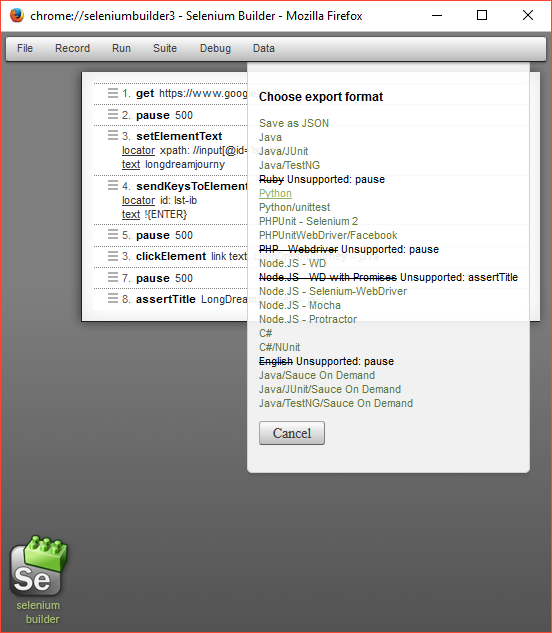
- Click export to
Node.JS - Selenium-WebDriver
var webdriver = require('selenium-webdriver'),
    By = webdriver.By,
    until = webdriver.until;
var _ = require('underscore');
var VARS = {};

var globalTimeout = 60*1000;

var driver = new webdriver.Builder()
    .forBrowser('firefox')
    .build();

driver.controlFlow().on('uncaughtException', function(err) {
    console.log('There was an uncaught exception: ' + err);
});

driver.get("https://www.google.co.th/");
driver.sleep(2000);
driver.findElement(By.id("lst-ib")).clear();
driver.findElement(By.id("lst-ib")).sendKeys("longdreamjourney");
driver.findElement(By.id("lst-ib")).sendKeys("\uE007");
driver.sleep(2000);
driver.findElement(By.linkText("LongDreamJourney – java")).click();
driver.sleep(2000);
driver.getTitle().then(function (title) {
    if (!_.isEqual(title, "LongDreamJourney – java")) {
        console.log('verifyTitle failed');
    }
});

driver.quit();
Prepare the test framework
This example I will use JS-Grunt-Mocha-Parallel-WebdriverJS framework for run testing above.
- Install Node.js
- Install Grunt Globally
- Clone
JS-Grunt-Mocha-Parallel-WebdriverJSand install dependencies
- Project stucture description
- Create new test spec file by copy the test steps from the exported JavaScript
var assert = require('assert'),
    webdriver = require('selenium-webdriver'),
    By = webdriver.By,
    makeSuite = require('../util/helpers').makeSuite;

makeSuite('Check Menu Site', function() {

  it('should not error', function(done) {
    driver.controlFlow().on('uncaughtException', function(err) {
        console.log('There was an uncaught exception: ' + err);
    });

    driver.get("https://www.google.co.th/");
    driver.sleep(2000);
    driver.findElement(By.id("lst-ib")).clear();
    driver.findElement(By.id("lst-ib")).sendKeys("longdreamjourney");
    driver.findElement(By.id("lst-ib")).sendKeys("\uE007");
    driver.sleep(2000);
    driver.findElement(By.linkText("LongDreamJourney – java")).click();
    driver.sleep(2000);
    driver.getTitle().then(function (title) {
      assert.equal(title,'LongDreamJourney – java');
      done();
    });
  });

});
- Update the test emvironment in
Gruntfile.js
'use strict';
var os = require('os');
var path = require('path');

module.exports = function (grunt) {
    // configure tasks
    grunt.initConfig({
        mocha_parallel: {
            options: {
                args: function(suiteName) {
                    return [];
                },
                env: function(suiteName) {
                    process.env.BROWSER = grunt.option('browser');
                    process.env.VERSION = grunt.option('version');
                    process.env.PLATFORM = grunt.option('platform');
                    return process.env;
                },
                report: function(suite, code, stdout, stderr) {
                    if (stdout.length) {
                      process.stdout.write(stdout);
                    }
                    if (stderr.length) {
                      process.stderr.write(stderr);
                    }
                },
                done: function(success, results) {
                },
                mocha: path.join('node_modules', '.bin', 'mocha') + (/win32/.test(os.platform()) ? '.cmd' : ''),
                //this is the default concurrency, change as needed.
                concurrency: os.cpus().length * 1.5
            }
        },

        parallel: {
            assets: {
                options: {
                    grunt: true
                },
                tasks: ['run_windows10_chrome_56','run_windows10_firefox_51']
            }
        }
    });

    // load tasks
    grunt.loadNpmTasks('grunt-mocha-parallel');
    grunt.loadNpmTasks('grunt-parallel');
    grunt.registerTask('Windows10_chrome_56', function(n) {
      grunt.option('browser', 'chrome');
      grunt.option('version', 56);
      grunt.option('platform', "Windows 10");
    });
    grunt.registerTask('Windows10_firefox_51', function(n) {
      grunt.option('browser', 'firefox');
      grunt.option('version', 51);
      grunt.option('platform', "Windows 10");
    });
    // register tasks
    grunt.registerTask('default', ['parallel']);
    grunt.registerTask('run_windows10_chrome_56', ['Windows10_chrome_56', 'mocha_parallel']);
    grunt.registerTask('run_windows10_firefox_51', ['Windows10_firefox_51', 'mocha_parallel']);
};
- Setting up envitronment for Sauce Credentials
- Windows
- Linux or OSX
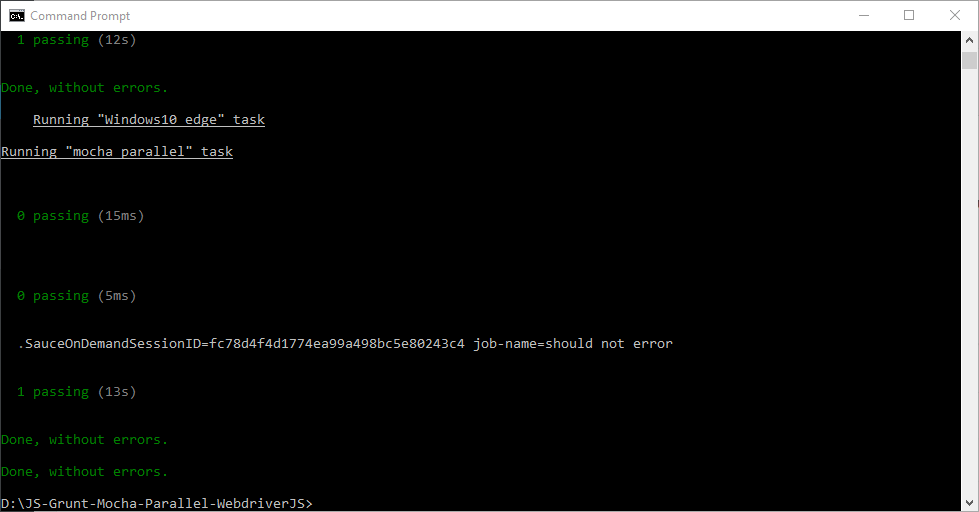
- Running Tests
npm test - Meanwhile you can watch the testing on SauceLabs
- Wait util all test is done and see every things are green….
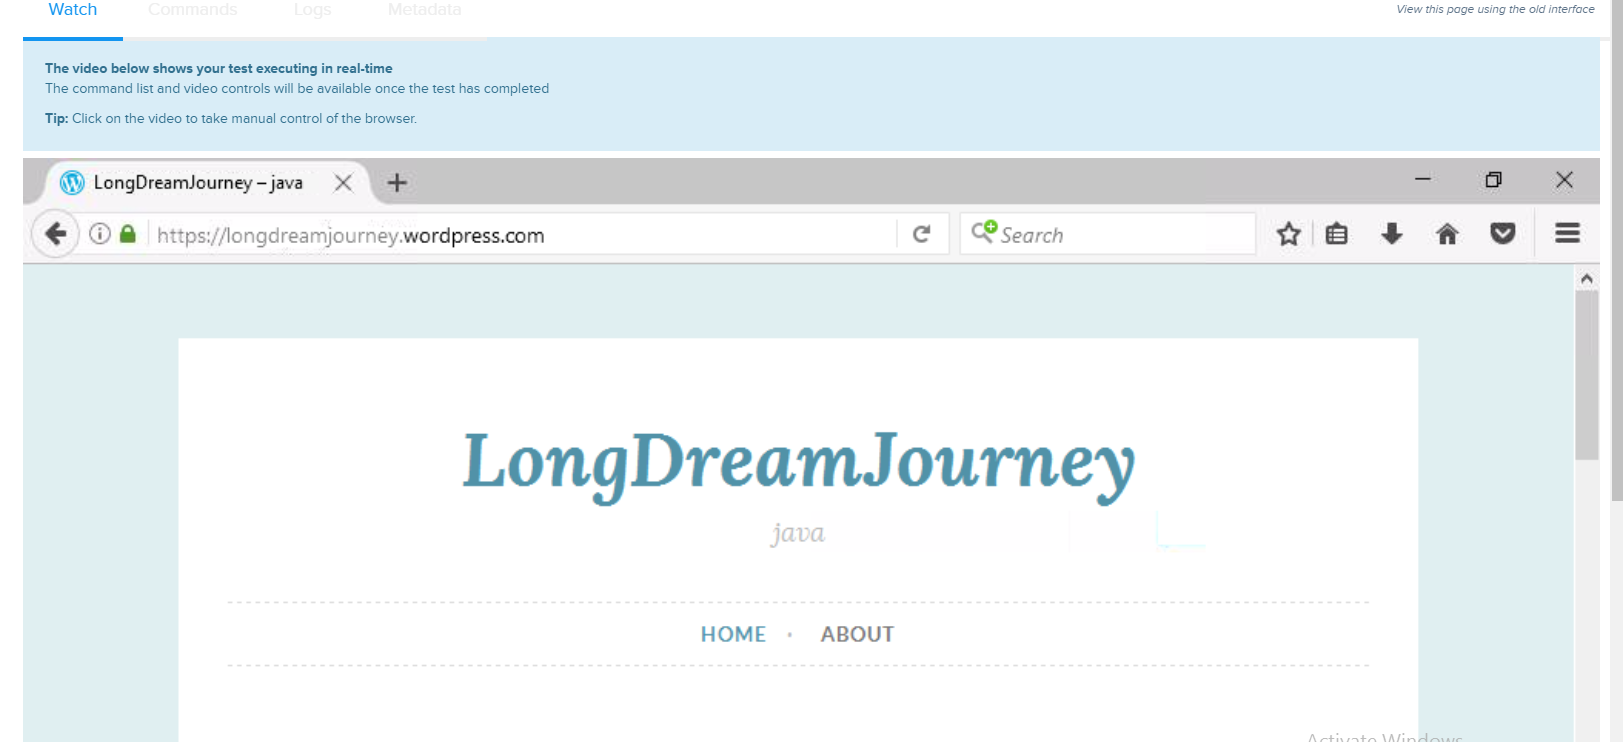
Watch the test executed on SuaceLabs
While we are executing the test scripts, we can see the test is running on SauceLabs website and also we can watch the test is executing on the web browsers in real time.
- Go to SauceLabs Dashboard
- SauceLabs will display the test case is running…
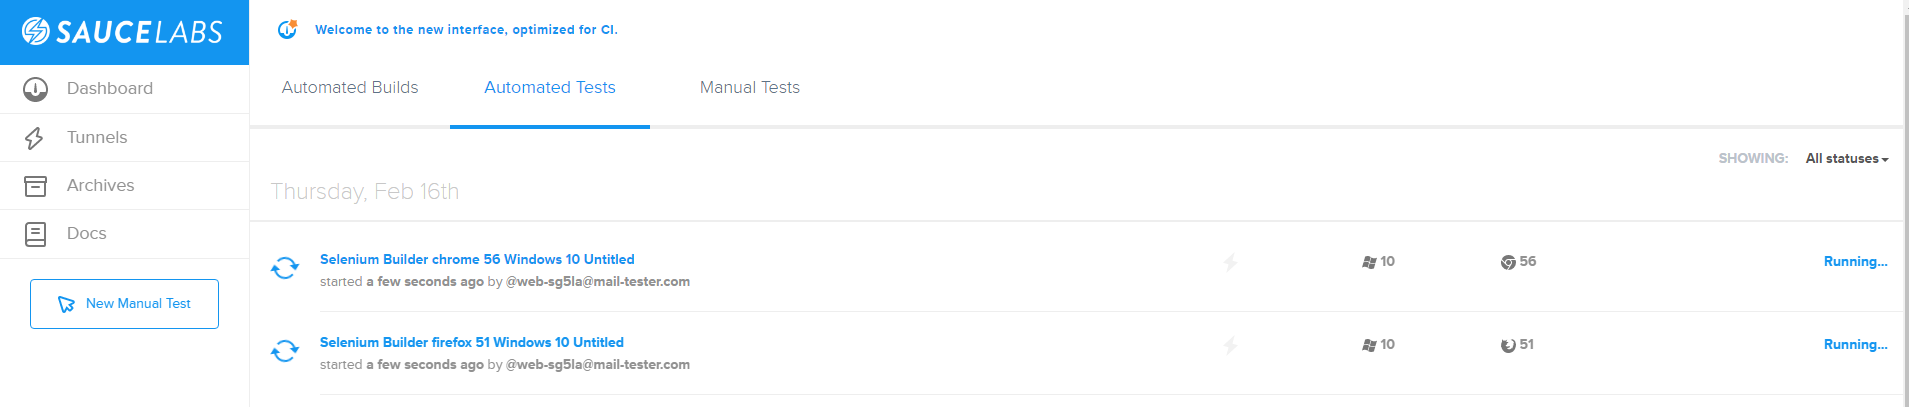
- Click on the test instant to watch your test executing in real-time